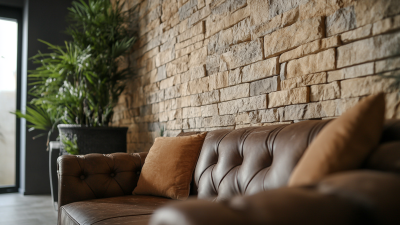
You know, in today’s ever-changing world of interior design, more and more homeowners are digging Faux Painting as a pretty affordable and stylish way to give their spaces a fresh new look. I recently read that the faux finishing market is actually expected to grow quite a bit — like, with an annual rate of around 4.9% up until 2027. Looks like these techniques are really gaining popularity! Over here at Sengu (Shandong) New Materials Co., Ltd., we totally get how important these innovative solutions are.
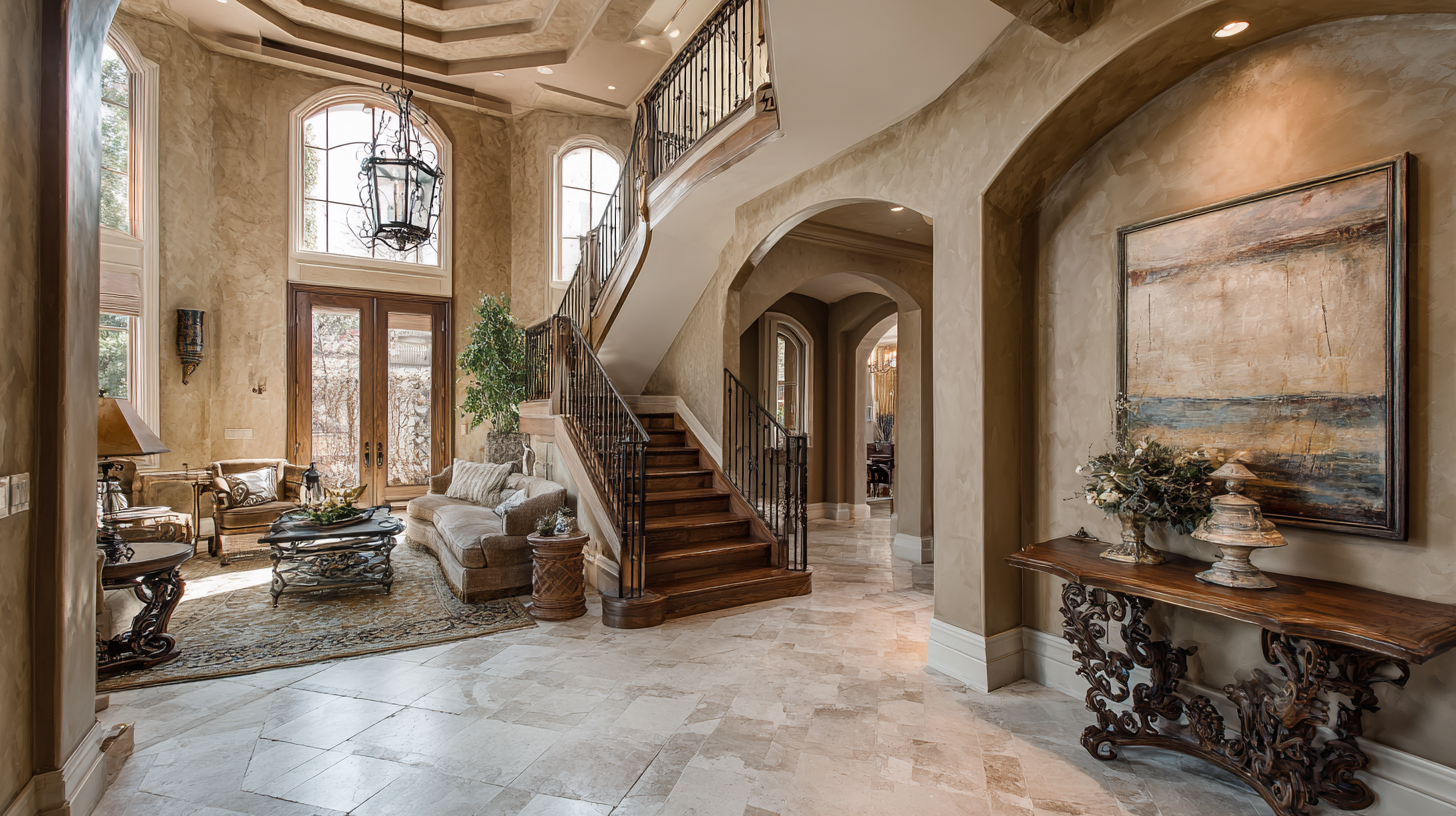
Our production site is spread out over nearly 100 acres and brings together research, development, and sales all in one place. We focus on making home decoration products that are safe, environmentally friendly, and built to last. By tapping into industry insights and expert advice, we’re aiming to help homeowners—like you—discover some proven tips for using Faux Painting techniques. Our goal? Helping you achieve stunning, high-quality results that will look amazing and stand the test of time — believe me, it’s easier than you think!
Understanding Faux Painting: A Brief Overview of Techniques and Styles
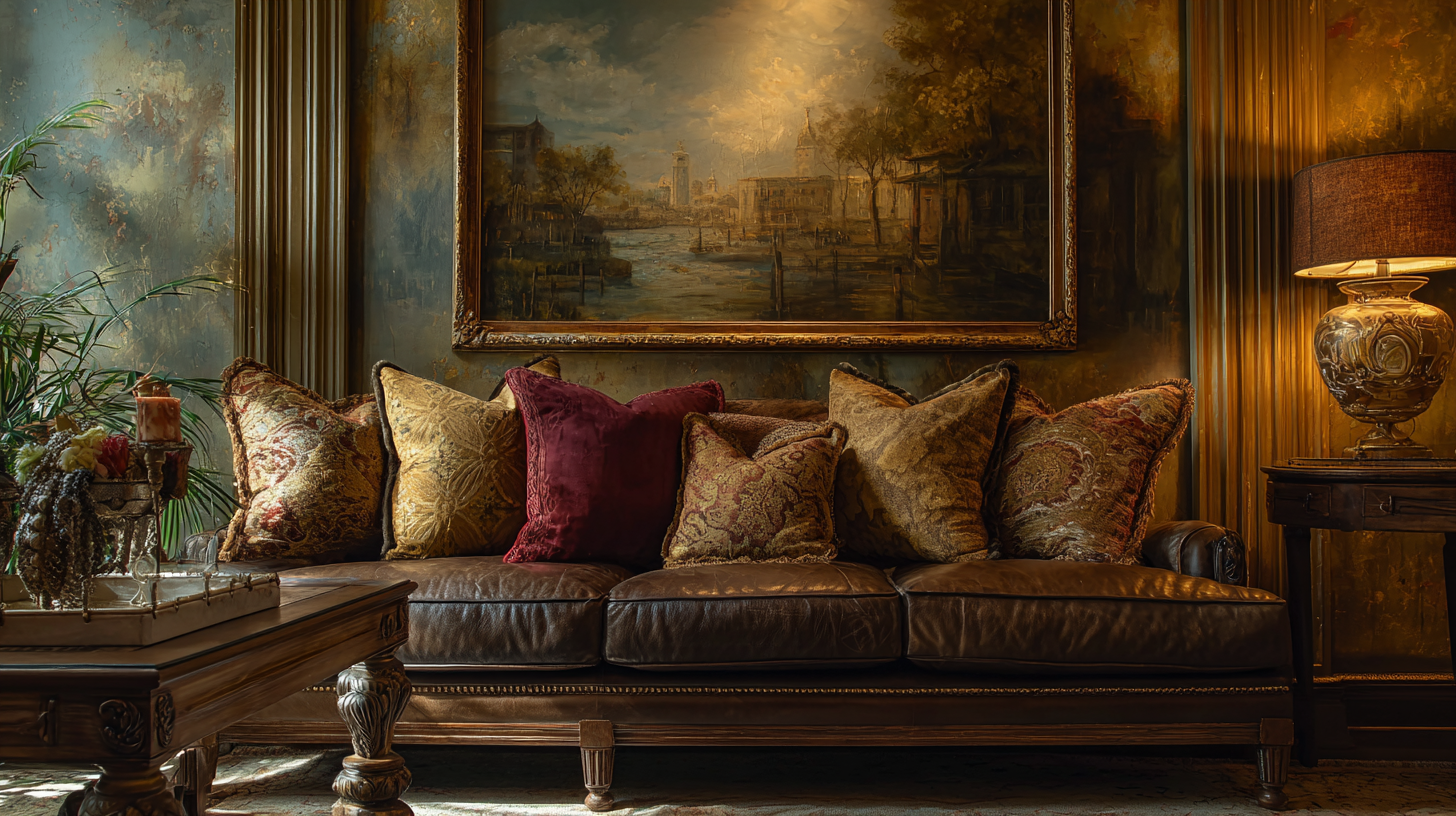
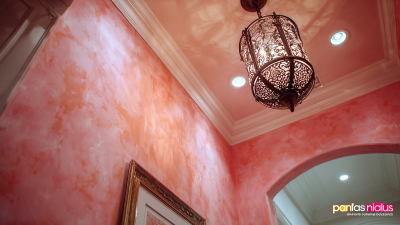
Faux painting is a classic technique that can really transform any room, giving you countless styles and methods to match your personal vibe. At its heart, it’s all about creating the look of texture, depth, and dimension on flat walls—turning something ordinary into something eye-catching. Whether you’re into sponging, rag rolling, or marbling, these techniques can make your space feel more upscale or more rustic, depending on what you’re going for. For example, sponging can add a soft, dreamy feel—perfect for a relaxed bedroom—while marbling can give your dining room a polished, sophisticated look, like real stone.
Essential Tools and Materials for Successful Faux Painting Projects
Starting a faux painting project? Honestly, having the right tools and materials makes all the difference if you want that professional-looking finish. I read somewhere—like from the National Painting Contractors Association—that the quality of your tools can really influence how your project turns out. In fact, about 75% of the look of a paint job depends on what equipment you’re using. So, it’s worth investing in good stuff, like decent brushes, rollers, and sponges. A small, fine-tipped brush is great for all those detailed touches, while rollers are perfect for quickly covering bigger areas. Oh, and don’t forget a sturdy ladder—that’s a game-changer when you’re reaching those tricky high spots and want to stay safe.
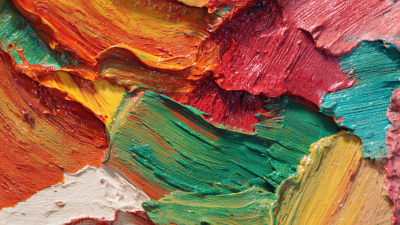
When it comes to materials, they’re just as important. A survey from the American Coatings Association pointed out that 67% of pros say their success comes from using high-quality paints and finishes. For faux effects, it’s best to go for specialty paints that add texture and depth—think glaze, metallics, or textured finishes. Mixing a good base coat with a nice topcoat can really elevate your look, giving you everything from rustic charm to sleek, modern vibes. Honestly, once you get the hang of choosing the right tools and materials, DIY projects can turn out pretty impressive—and totally transform your space.
Step-by-Step Guide to Creating a Stunning Faux Finish
Transforming your space with faux painting techniques can really change the game when it comes to home decor. And with Sengu (Shandong) New Materials Co., Ltd.’s focus on safe and eco-friendly solutions, you get to achieve some seriously gorgeous results—without worrying too much about the impact on the planet. If you're thinking about giving it a try, here’s a simple step-by-step guide to help you create a beautiful faux finish that’ll totally elevate your interior vibe.
First off, make sure your surfaces are well-prepped. Clean the walls really well to get rid of dirt and grease, then slap on a base coat that matches the look you’re going for. After that, pick a faux painting technique that matches your style—things like sponging, rag rolling, or even strié can add some serious depth and texture. And don’t forget, using quality, eco-friendly materials—like the ones Sengu offers—can help you get that professional look while staying safe and environmentally conscious.
Once you’ve got your base down, try layering different techniques. Mixing things up creates more visual interest and a chic feel. For example, start with a sponge effect and then go over it with a gentle strié—letting parts of the earlier layer show through—it adds depth and personality to your space. This kind of layering not only makes your walls look amazing but also shows off your creativity as a homeowner. So, follow these tips and have fun transforming any room into a stylish reflection of your personal style!
Expert Tips for Choosing the Right Colors and Patterns
When you're thinking about sprucing up your space with faux painting tricks, choosing the right colors and patterns is kind of a big deal. Design pros often say that neutral shades are the way to go, and gray, in particular, is super popular because it’s so versatile. I read somewhere that about 80% of designers prefer light gray because it kind of goes with anything—different decor styles, moods, you name it. Those soft tones create this nice, calming vibe that makes your room look better, but they also let your decor pieces really pop.
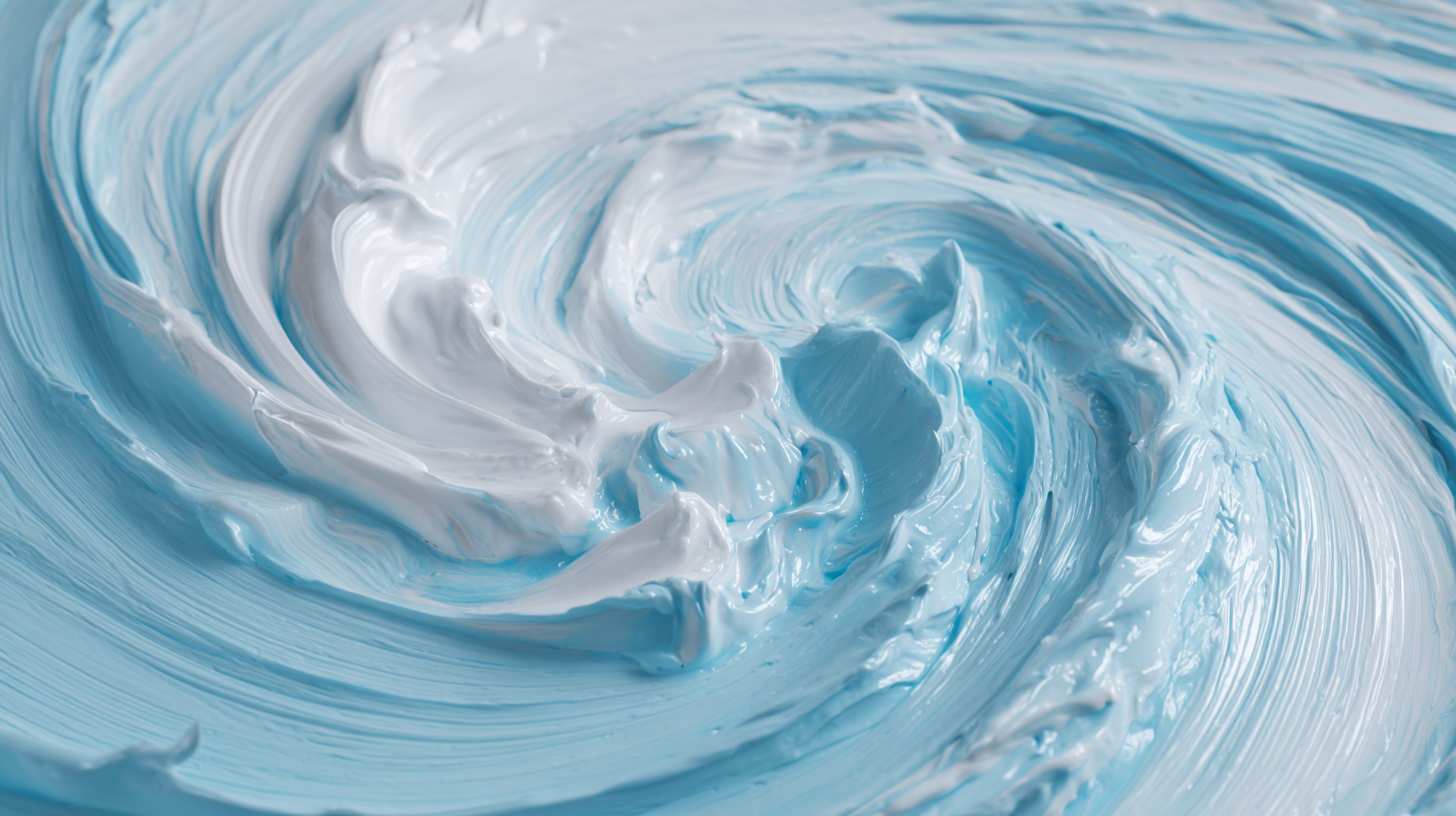
And let’s not forget about patterns—those can totally take your space to the next level. Interior stylists will tell you to consider bold geometric designs; they add both depth and some serious interest to your walls. For example, using patterns that incorporate shades of your main color can really tie everything together nicely. Funny enough, a recent trend report shows that about 60% of homeowners feel way more satisfied with their interiors when they play around with patterns that bring the whole design together. So, take your time picking colors and patterns — it’s a fun way to make your place reflect your personal style and create a fresh, inviting vibe.
Common Faux Painting Mistakes to Avoid for a Flawless Look
When you're tackling faux painting, avoiding the usual mistakes is really key if you want that perfect, flawless finish. One common slip-up? Not prepping your surfaces properly. Giving the walls a good clean and a nice prime can make a world of difference — it helps the paint stick better and the colors look way more vibrant. Also, don’t skimp on your brushes and tools. Using good quality stuff can really help you get the texture just right and prevent those annoying streaks or patchy spots.
Another thing I’ve seen people do — myself included sometimes — is rushing through the process. Faux finishing isn’t exactly a quick thing, and sometimes it takes a couple of coats, with drying time in between. Patience is totally worth it; giving each layer enough time to dry makes your final look so much more polished and professional. Oh, and work in small sections — it’s easier to control and you’ll avoid that annoying overlapping mess that can ruin the design.
And don’t forget about choosing the right colors. It’s a good idea to test some samples on your wall first — that way, you’re not stuck with a color that looks totally different once it’s on. Putting these tips into practice and keeping an eye out for common faux painting pitfalls can really help you turn your space into a stunning piece of art. Honestly, a little patience goes a long way!
Faux Painting Techniques: Common Mistakes and Best Practices
This bar chart illustrates the frequency of common mistakes encountered in faux painting techniques, such as color selection and surface preparation. Understanding these mistakes can help enhance your faux painting projects.
Maintaining and Caring for Your Faux Painted Surfaces
Taking care of faux painted surfaces is pretty much key to keeping them looking great and lasting longer. First off, you wanna stick to a gentle cleaning routine—nothing too harsh. A soft, damp cloth works wonders for wiping things down regularly. Avoid using any strong chemicals or abrasive scrubbers because they can really mess up the paint finish. When you've got some spots to clean, a mild soap solution usually does the trick. Just make sure to test it out on a small, hidden spot first, so you’re not surprised by any weird reactions with the faux finish.
Also, it’s a good idea to apply a protective sealant every few years. It helps shield your faux paint from everyday wear and tear, plus it makes cleaning a lot easier and keeps the colors from fading too fast. Just keep in mind that the type of faux painting technique (like sponging, rag rolling, or faux marble) might need specific advice. And don’t forget about sunlight—exposing your walls to too much sun can cause the colors to fade over time. Using window treatments or UV filters can really help keep those vibrant hues intact. Follow these simple tips and your faux painted walls will keep looking gorgeous as the day they were finished!
5 Proven Tips to Elevate Your Space with Faux Painting Techniques: Insights from Industry Experts - Maintaining and Caring for Your Faux Painted Surfaces
| Tip | Description | Maintenance Frequency | Recommended Products |
| Choose the Right Paint | Selecting high-quality, durable paint is crucial for maintaining the look of faux finishes. | Every 3-5 years | Acrylic paint, low-VOC options |
| Proper Cleaning | Use soft cloths and gentle cleaners to avoid damaging the faux paint surface. | Monthly | Mild soap, microfiber cloths |
| Touch Up as Needed | Regularly inspect surfaces for wear and do touch-ups where necessary. | As needed | Matching paint for touch-ups |
| Avoid Direct Sunlight | Position furniture to prevent fading from direct sunlight on faux painted surfaces. | Ongoing | Window treatments, UV-blocking films |
| Consult a Professional | Hire experts for significant maintenance or restoration of faux finishes. | Every 5-10 years | Professional faux finishers |
FAQS
: Faux painting is a decorative art technique that creates the illusion of texture, depth, and dimension on flat surfaces, transforming ordinary walls into visually engaging spaces.
Popular techniques include sponging, rag rolling, marbling, Venetian plaster, and trompe-l'œil, each providing unique textures and styles suited for various room aesthetics.
High-quality tools significantly influence the outcome of the paint job. According to the National Painting Contractors Association, 75% of paint jobs reflect the quality of the equipment used.
It is advisable to use specialty paints designed for texture and depth, such as glaze, metallic, or textured paints, along with a combination of base and topcoat paints for enhanced aesthetics.
Common mistakes include inadequate surface preparation, rushing the application process, and selecting the wrong color palette, all of which can compromise the final look.
Properly cleaning and priming the walls ensures better paint adherence and more vibrant colors, leading to a superior finish.
Faux painting often requires multiple layers and drying time between coats; rushing can lead to streaks and an uneven finish.
Testing color samples on the wall allows you to ensure the chosen tones match your desired aesthetic, preventing mismatched hues later in the project.
Working in small sections allows for better control over the application process and helps avoid overlaps that can disrupt the final design.
Faux painting can achieve a range of styles, from rustic charm to modern elegance, through various techniques and color combinations to suit individual tastes.
Conclusion
Faux painting is such a cool technique that's really capable of transforming any space, giving you tons of style options and finishes to match your vibe. In this blog, I'm diving into some of the key faux painting methods—think of it as a step-by-step guide to help you get jaw-dropping results. Plus, I’ll share which tools and materials you’ll need along the way. Expert tips included, so you can pick the perfect colors and patterns that reflect your unique style, all while avoiding those frustrating mistakes that can mess up your final look.
At Sengu (Shandong) New Materials Co., Ltd., we’re all about providing top-notch, eco-friendly home decor options. Our know-how in faux painting means you can count on us for durable, high-quality materials that really make your space pop. With just a little TLC, your faux-painted walls can stay stunning and vibrant for years—showing off your creativity while keeping sustainability in mind.